Ever wanted to make kombucha at home? Here’s how we do it!
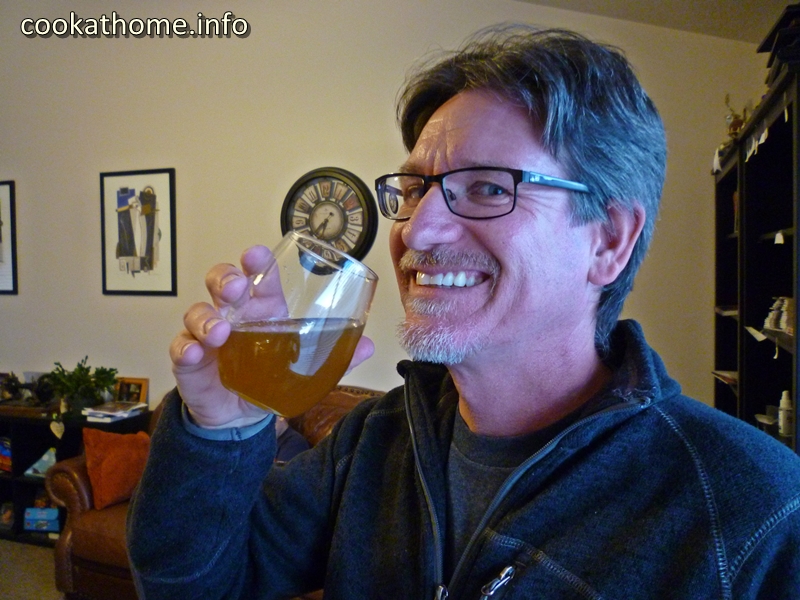
Kombucha. It’s one of those latest buzz words, fad things that the ‘healthy’ people seem to go on and on about, isn’t it? What is it? And why is it so good? And does it really taste like bacteria? And why would people like my picky family, especially Grant, enjoy drinking it? Well, read on, and hopefully all these questions … and more will be answered. As well as helping you to make it yourself at home!
What is kombucha?
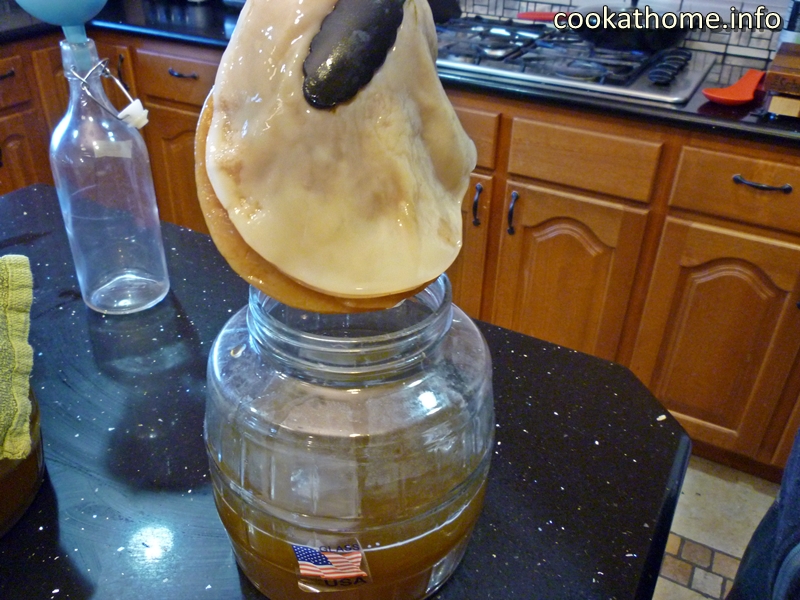
Kombucha is a fermented sweet tea, combined with fruit juice, with lots of good probiotics. You know, probiotics are the good bacteria that help digestive health and general well-being. Kombucha requires a symbiotic colony of bacteria and yeast (SCOBY) to start the fermentation process of the sweetened tea. By the way, this SCOBY is what put Abby off of kombucha right from the beginning … and has never drunk it since! But for those of you who don’t make judgements based on the first impressions,
I know there’s some dispute as to whether kombucha does have any health benefits or not, but all I know is that my special snowflake stomach works much better when I have kombucha every day. So I’m sticking with that.
Grant loves it too – he loves his ‘fizzy drink’ (soda to you US people!). But he’s also become more aware of the calories in some of the sodas, and the artificial chemicals in all the diet drinks. And when a friend of ours (thanks Janet!) gave him a drink of her kombucha, with that bubbly, fizzy taste, he was hooked too. Now Grant is Chief Kombucha Engineer in our house, so he’s helped me to put this post together for you … and if you have any questions, I’ll ask him!
How do you make kombucha?
Things you will need:
- A SCOBY
- 1 gallon water
- 1 cup sugar
- 9 tea bags
- fruit juice
- 2 x 1 gallon glass jars
- 4 x 1 quart glass bottles
The SCOBY
First you need to find a SCOBY for yourself. The good thing is that once you start making kombucha, the SCOBY grows more and more layers, which you can remove and start new batches, or give to friends. Like what happened with us (thanks again Janet!). Either find someone you know who is making kombucha at home already, or you can buy these online (check out Amazon!).
Step 1: Make some unsweetened tea
Pour 1 gallon of water and 1 cup of granulated sugar into a heavy bottomed pot and heat until the sugar is fully dissolved, in preparation to make sweet tea. The best water temperature to make tea is subjective, but we heat to just before boiling, around 200F. Apparently this helps to stop black tea from being bitter.
 |
 |
Once the water has reached your desired temperature to make tea, add 8 or 9 tea bags. Now these can be a mixture of any type of tea – this is where you can put your Mad Scientist gear on and have fun with it. A good place to start is half green tea / half black tea. Grant usually uses two green tea, two black tea, 4 flavored herbal teas and maybe an Earl Grey tea bag for good luck. The experimenting to balance the flavors is the fun part!
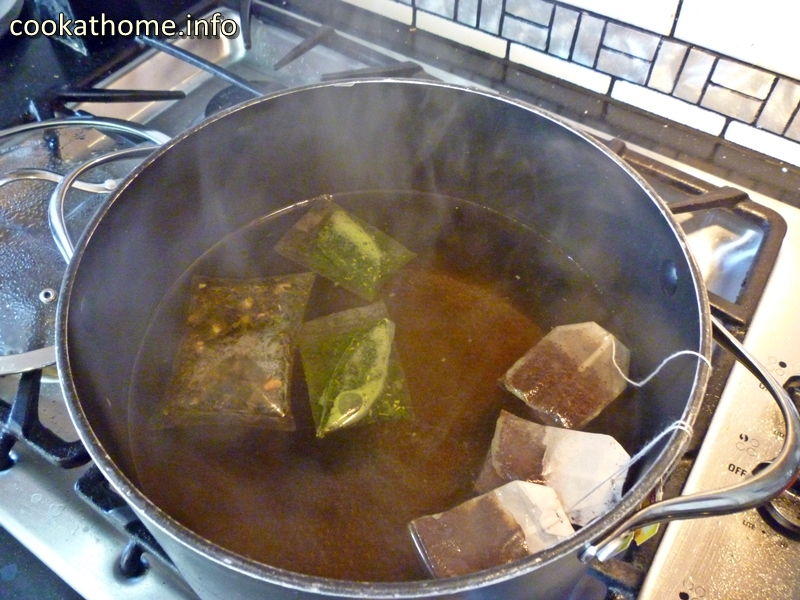
Grant usually takes the black tea out of the water after 5 minutes to stop it from going bitter, but leaves the green and herbal teas for 10 minutes total. Give those tea bags a squeeze when you remove from the water to get as much flavor out of them as possible. Don’t squeeze the black tea bags!
Allow the sweetened tea to cool to room temperature.
Step 2: Start the fermenting process
Once the tea is at room temperature, pour into a glass jar. We use 2 one gallon jars but only put 1/2 gallon of tea in each just to give it room to do it’s magic and because it’s easier to handle than if the jars were totally full! Also, the combination of the SCOBY and 1 gallon of tea = more than 1 gallon …!
Into each jar, add a 1/4 cup of kombucha made from the previous batch, half of the sweet tea and the SCOBY. Do not touch the SCOBY with anything metallic – we have tongs with rubber tips on them for just this purpose! Place either cheese cloth or a face towel, secured with a rubber band over the top and allow to ferment.

Keep the kombucha out of direct sunlight during the fermentation process.
Step 3: The first fermentation
Depending on the ambient temperature, the fermentation can take anywhere from 7-15 days. A longer fermentation creates a less sweet, more vinegar-like drink. A shorter period creates a more sweet but less fermented drink. We leave ours from 6-7 days in summer and 7-8 days in winter for the balance of sweetness we like. Many people let their fermentation go longer, but we find that a little too tart for our liking.
Step 4: The second fermentation
After the desired time of first fermentation, remove the SCOBY with plastic/silicon/rubber tipped tongs and set aside on a clean plate. You may have noticed that the SCOBY has already started to grow a new layer (a SCOBY baby!), which you can then bless other friends with if they would like to make their own kombucha!
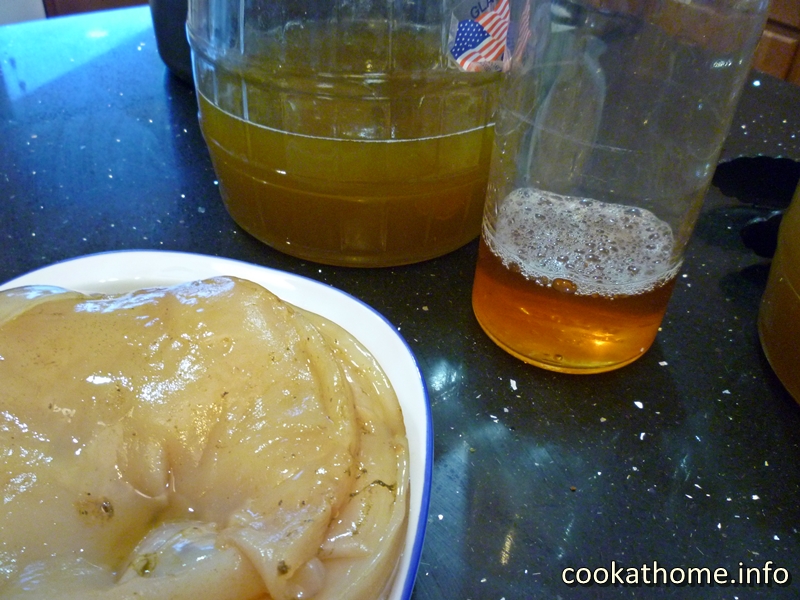
Add about 1 cup (20%) of fruit juice into each of the 4 x 1 quart glass bottles. Apple juice is a good default, but we have also used cranberry/apple, apple/raspberry, blueberry, prune and multiple other flavors. Again, get your Mad Scientist gear out and be creative. Try not to go for juices with more of an acidic flavor already – we found orange juice to be less effective – but you can always blend juices to create your own flavors.
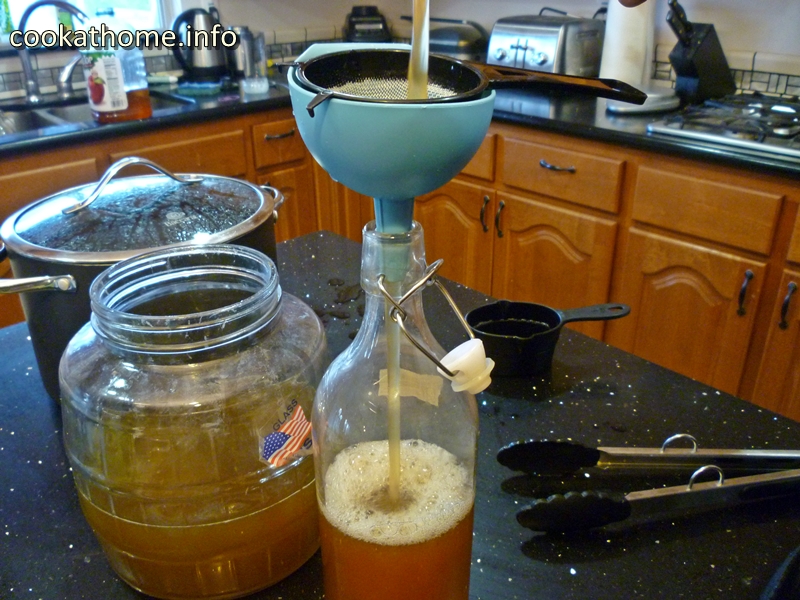
Using a funnel and nylon (not metal) sieve, pour the fermented tea into the bottles, leaving about 1″ of air from the top.
Step 5: The second fermentation
Cap the quart bottles and put in a cupboard, away from direct sunlight. During the second ferment, the bottles will build up pressure internally so make sure you leave that air gap!
The longer you leave the second fermentation, the more bubbles, the more fizzy, the more champagne-like the drink will become. But don’t leave it too long, or you will end up with vinegar. Putting the bottles in the fridge after 2-3 days slows down the fermentation so you don’t have to drink all of them before the vinegar effect begins! We generally leave our second fermentation between 2-3 days for a gentle fizz before putting in the fridge.
If you are concerned a bottle may break, pop the lid, allow the gas to escape and put the lid back on. The fermentation will continue!
Step 6: Drinking your homemade kombucha
Now that you’ve done all the hard work, you can enjoy the fruits of your labor. But just remember to pour the final product through a nylon (not metal) sieve on top of your glass because there will still be residual SCOBY in the bottles after fermenting.
So there we go – feel ready to make kombucha at home?
For those of you who live in our area, and are interested, we are more than happy to provide a SCOBY for you to begin the kombucha adventure. We won’t supply you with the Mad Scientist gear, but will give advice, tips and help when needed.
For those of you who aren’t near us, try to find someone who’s got a SCOBY – and let the experimenting with fizzy drinks begin!
Until next time, enjoy making kombucha at home!
Sarah
![]()

been diabetic I am over the moon with wot affect it will have on it